I thought it might be useful to provide a step-by-step guide as to how are shoes are made.
After your feet are measured and you decide on the basic shape and style of your shoe. Our shoemaker will select a last and create a pattern of the shoe based on your measurements. A last is chosen that is closest in measurement and shape to your foot. The last is an extremely part of the shoemaking process as it is provides the shoe with form while the shoe gets made. The last determines among other things the shape of the toe.


Once the last is selected it is placed aside to be used with the pattern and other materials required to make your shoe. A specialised worker called a "clicker"will draft a pattern on paper for the various components for the shoe and cut them out of the leather or whatever other material the upper will be made from.


Once the components have been "clicked" they are passed to another specialised worker called the "closer." The closer's job is to sew or components of the upper together. This person is also responsible for applying decorations to the leather. In mens shoes these are usually medallions and broguing. Remember where I said that DeeR shoes are almost 100 percent made? Well this is the part where a machine is used.

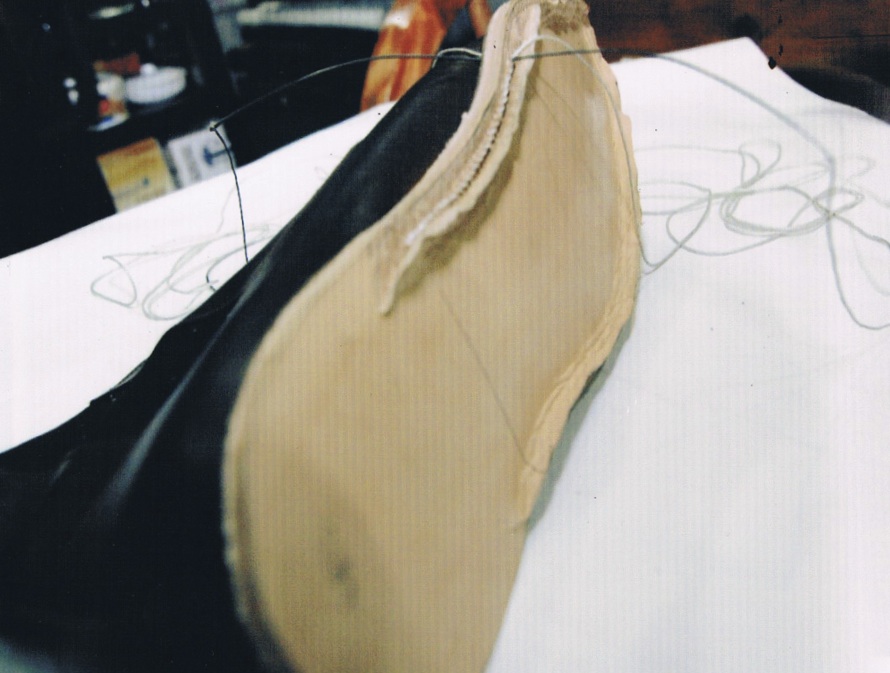
Once this is completed the upper and the selected last are given to the "maker." This is where the shoe begins to take shape. The maker with a special plier pulls the bottom part of the upper over the last and nails it to the last. If the leather doesn't sit nicely over the last the maker will pull out the nail and re fashion the leather over the last. This process is repeated many times sometimes until the desired shape of shoe is reached.


I didn't have another photo showing the heel. However, you can check out a Marcel Mrsan's (who is a custom shoemaker from Hungary) Website.
Once everything is completed. The shoe is cleaned and polished up and sent to The DeeR headquarters in Brisbane.
No comments:
Post a Comment